Pages

Thursday 20 February 2014

Winged eyeliner inspired by Halima (Fashionicide)

I have been following Halima's blog - Fashionicide - religiously for a few years now back when it was called DesignerSpray and Halima didn't have such bright hair ;) 
If you are looking for a refreshing change from the 'blogosphere' check out Halima's blog, her makeup and outfits leave me in awe, inspiring me to be as bold as her - she is a true gem! 

Today after having a little trawl through Halima's Instagram I decided to re-create a look. (I have to admit, I tried re-creating a look a while ago but failed miserably, today I had a little more luck!) A steady hand and a lot of patience is required, a lot of cotton buds were also harmed in the process.. =/

I used the Maybelline gel eyeliner with a Mac 209 eyeliner brush et voila... 

It's not perfect but I am pretty happy with the end result


I've cut half of my face as I had tried a different look on the other eye which didn't turn out as good! 


Please excuse that other eyelid.. :P 


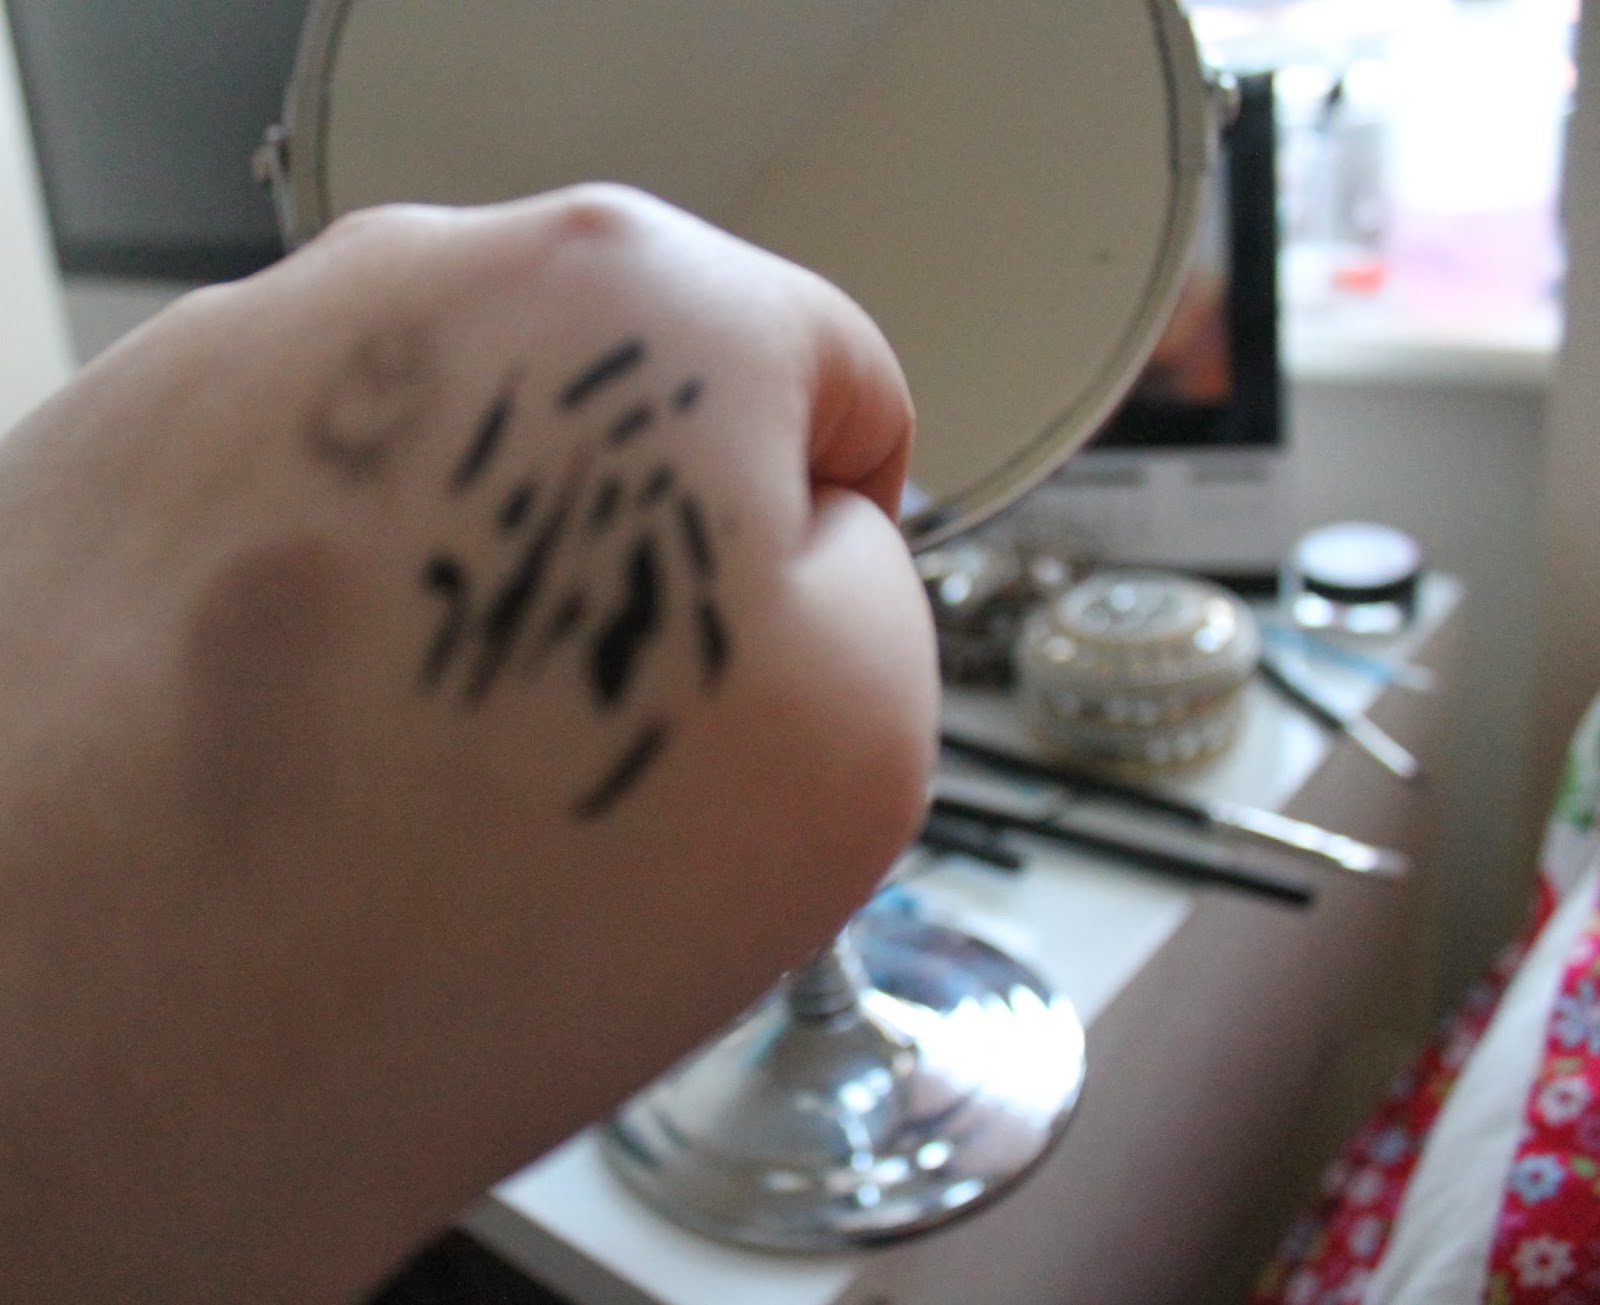
Your hand will probably end up looking a little like this at the end of it! 


Eyes: Maybelline Black Gel liner
Eyeshadow: Mac All That Glitters
Lips: Mac Hot Tahiti

I know I don't have many followers here on my blog but for all my friends who are reading this do check out Halima because I am pretty certain she will blow you away too! 

x


Monday 17 February 2014

Makeup: Smokey brown with a slight twist

Digging out my Mac palette today I decided to create an impromptu look - not sure what I was doing. 
My Mac palette has been neglected recently and using it today reminded me how incredible the quality is, they are by far my favourite from my collection, the texture is amazing and they blend so easily creating a seamless, flawless look. 


Makeup: 

Eyeshadows: 
Mulch - swept across the whole eyelid 
Club - Lower lash line and outer V
Sumptuous Olive - Inner corner (used as highlight!)
Woodwinked - swept very lightly across the first half of my eyelid
Black tied - used as an alternative to eyeliner on the upper lash line 
and then blended out lightly to create smokiness! 
Mascara: YSL Babydoll
On my waterline I'm wearing a MAC fluid line in Siahi (unfortunately
it was a limited edition piece from a collection many moons ago!)


Above pictures: Without flash


Above pictures: With Flash 

I would never put an olive green colour in my inner corners but after experimenting today I think it looks pretty cool! What do you guys think?

I think it's time I experiment a little more...!

On a side note: You can probably tell theres one eyeshadow missing as I am yet to complete it, this palette has been in the making for around 2 years now! It'd be pretty expensive to buy all the eyeshadows in one go! =P

x


Saturday 1 February 2014

Lemon Drizzle Traybake

Hey guys! 

Saturday has finally rolled around *phew* it's been a long week. What better way to spend a Saturday than to bake a delicious lemon drizzle cake to welcome your father home! My last blog post was also about food to welcome my parents home, but this time my mum made some amazing rice/curry and left the dessert to me as it was just my father who had gone away on another business trip (so I didn't have to do as much cooking as last time *woo* =P)

The recipe I used came from the infamous Mary Berry. Boy, was it deliciously tangly, sweet and best of all, extremely easy to make. 

Here is the recipe: 


Ingredients:
225g softened butter
225g caster sugar
275 self raising flour
2 teaspoons baking powder
4 tablespoons of milk
4 large eggs (I used 5 medium sized) 
Finely grated rind of 2 lemons 

For the crunchy topping:
Juice of 2 lemons
175g granulated sugar

Preparation time: about 10 minutes
Cooking time: about 35-40 minutes

Cuts into about 30 squares
  1. Cut a rectangle of non-stick baking parchment  to fit the base and sides of a traybake tin or roasting tin, 30 x 23 x 4 cm (12 x 9 x 1 ½ inches). Grease the tin and then line with the paper, pushing it neatly into the corners of the tin. Pre-heat the oven to 160°C/325°F/Gas 3.

  2. Measure all the ingredients for the traybake into a large bowl and beat well for about 2 minutes until well blended, an electric mixer is best for this but of course you can also beat by hand with a wooden spoon. Turn the mixture into the prepared tin, scraping the sides of the bowl with a plastic spatula to remove all of the mixture. Level the top gently with the back of the spatula.

  3. Bake in the middle of the pre-heated oven for about 35-40 minutes or until the traybake springs back when pressed lightly with a finger in the centre and is beginning to shrink away from the sides of the tin.

  4. Allow the traybake to cool in the tin for a few minutes then lift the traybake out of the tin still in the lining paper. Carefully remove the paper and put the traybake onto a wire rack placed over a tray (to catch drips of the topping).

  5. To make the crunchy topping, mix the lemon juice and granulated sugar in a small bowl to give a runny consistency. Spoon this mixture evenly over the traybake whilst it is still just warm. Cut into about squares when cold.
The batter itself is delicious, you'll want to lick the entire bowl not that I did... ; )
I hope you're having a lovely weekend, I had a nice relaxed Saturday re-watching Iron Man 3, baking and spending time with my dad who also gifted me with this super cute ring from Swarovski on his way back from Poland. Luurv it! 


Ciao for now! 
Maryam